I love ESLint. I think it’s a great way to impose your opinions… erm, I mean introduce new perspectives to your team. Seeing your mistakes literally underlined as you type is very powerful, and the explanation is just a hover away.
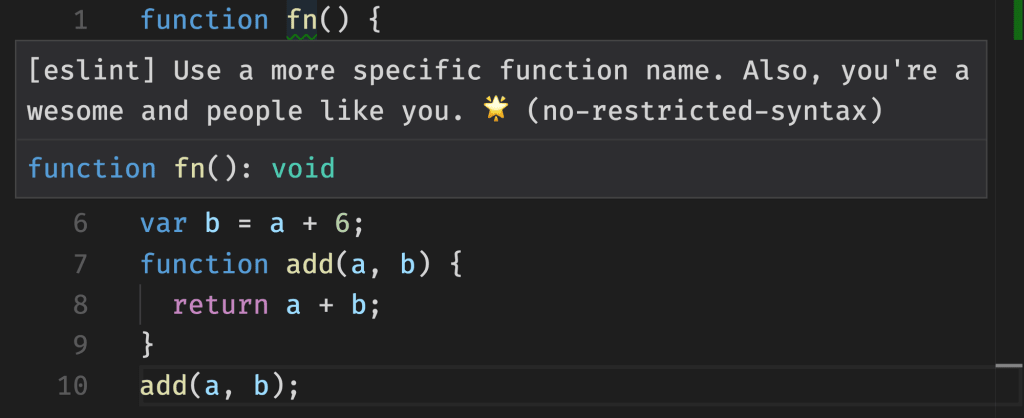
An example of an ESLint warning with the explanation displayed on hover.
ESLint has a bunch of rules and a huge ecosystem of plugins, all of this combined can result into a really consistent codebase. You can choose whether breaking rules will result in an error or just a warning, and you can fine tune many rules using their options.
After establishing basic conventions, you can choose how you want to enforce these rules in order to prohibit committing code with ESLint errors. This is a tricky area and there are many strategies. A popular one lately is lint-staged, with it you can lint only the files you’re committing, because you don’t want every commit to run ESLint across the entire codebase.
Some time has passed and your .eslintrc configuration has evolved as a result of many productive team discussions around best practices. It is unique to your team and the project you’re working on. Even if you started by simply extending eslint-config-airbnb, Surely many of their rules weren’t up to your taste (mandatory .jsx file extension for React code, seriously?!) or for some reason didn’t fit your project, so you modified or turned off many of them.
Hungry for more…
If you’re anything like me, you always want to enforce more conventions. You know many ESLint rules by heart and you know that some of your favorite conventions unfortunately don’t exist as rules. You could write your own rules and propose them, but in this case the ones you want are specific to your project and don’t really make sense anywhere else. You could create a plugin just for your project, but that doesn’t make a lot of sense and sounds like a lot of work.
So what’s a poor developer (who should really be focusing that energy on actual work) to do?
Introducing no-restricted-syntax!
no-restricted-syntax is a rule that I somehow never noticed before, it’s very powerful and a great solution to our/my problem. It allows us to prohibit specific syntax and define a message to explain why. The screenshot at the beginning of this post is a demonstration of this rule.
Getting started with this rule is very easy, especially if you know CSS. Its anatomy is very simple:
selector: an AST selector defining the restricted syntaxmessage: an explanation why that syntax is restricted
AST selectors are similar to CSS selectors, which makes constructing them way easier. In order to inspect the AST of the syntax you want to restrict, I highly recommend AST explorer, an indispensable tool that actually makes this process pretty fun!
Example: test names
Unit tests usually start like this:
it("should fetch data", () => {
  // ...
})
Personally, I dislike the “should” pattern in test names. If you always type it, it doesn’t really mean anything, right? So let’s restrict it.
I pasted the code above into the AST explorer and, since we’re interested in the test name, I placed the cursor inside the string. In the tree on the right we’ll see something like this:

A CallExpression containing a highlighted Literal as one of its arguments.
(In your case you’re probably looking at a more verbose version of the above, that’s because I’ve hidden location data and type keys to make it cleaner.)
Our AST selector should target strings which are arguments of functions called it and start with the word should:
CallExpression[callee.name=it] > Literal[value=/^should\b/]If this looks intimidating at first, I assure you that you’ll get a hang of it pretty quickly. Sometimes you’ll get false positives, but usually it’s very easy to refine selectors to fix those cases.
Let’s put this in our .eslintrc:
{
  "rules": {
    "no-restricted-syntax": [
      "warn",
      {
        "selector": "CallExpression[callee.name=it] > Literal[value=/^should\\b/]"
        "message": "Instead of \"should do something\" it's shorter to type \"does something\"."
      }
    ]
  }
}
Now if we open our test, we’ll see that the test names with “should” are underlined.

A test name containing the word “should” is underlined.
You can add as many selector/message pairs to the rule configuration as you want, so knock yourselves out! 😉
Syntax trees for the win!
ASTs are powerful, you can use them to build Babel plugins, write codemods, all kinds of crazy stuff! For example, I use them to check my blog posts for dead URLs.